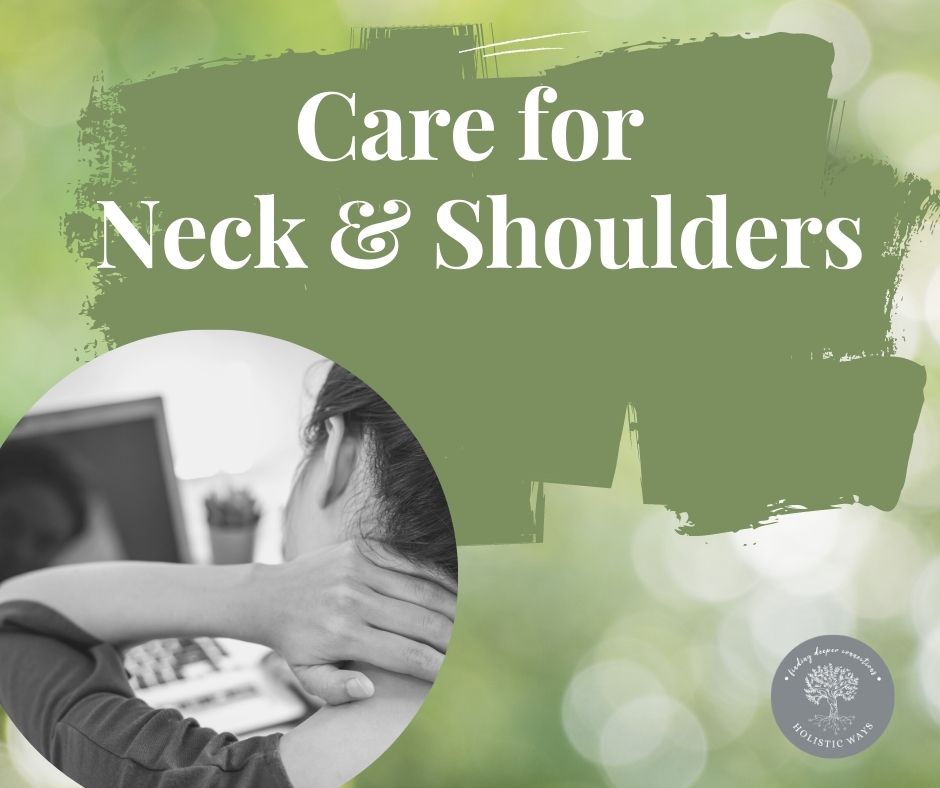
• Home
  • Life Coaching
  • Courses
  • Massage
  • Move & Stretch
  • Workplace Wellness
  • About Me
  • Contact Me
  • Self-Massage Tips
  • Essential Oil Tips
  Holistic Ways
  • Home
  • Life Coaching
  • Courses
  • Massage
  • Move & Stretch
  • Workplace Wellness
  • About Me
  • Contact Me
  • Self-Massage Tips
  • Essential Oil Tips


​Self-Care &
​Self-Massage Tips

Picture
Release muscular tension
Use a massage ball!
  1. Stand with your back against wall 
  2. Place ball between your body & the wall (you may like to put ball in a long sock & slinger sock over your shoulder when working on the back)
  3. Lean into wall to apply pressure
  4. Roll your body up & down or side to side (bit avoid pressing directly on spine)
  5. Hold still to release knots  
  6. Breathe & relax
  7. Work at a pressure that is comfortable for you - where you feel 'good pain' & can still breathe

​*You can also use a massage ball while lying down


Picture
Muscle locations to use a massage ball
​

  • Lower back
Place the ball between your lower back and the wall, just to the side of your spine 

  • Shoulders
Place the ball between your neck & shoulder blade 

  • Glutes
 Place the ball between your glutes & wall 

  • Hips
Place the ball between your hip & wall 

Picture

Loosen up neck & shoulders

Take a moment & enjoy a shrug of your shoulders... the muscles responsible for shrugging our shoulders are the upper traps (trapezius). 
Long periods spent in seated positions or hours studying/ behind a computer can lead to 'hunched' shoulders. These postures shorten our upper trapezius muscles which can cause pain in the shoulders & neck, & can create tension headaches as well as contributing to poor posture.
Self-care routine for neck & shoulders:
1. Scapular pinches: Roll shoulders back & pinch shoulder blades together. Hold for 2-3 secs. Repeat 5-8 times 
2. Shoulder shrugs: Gently raise shoulders up towards ears, then slowly lower them back down. Repeat 5-8 times
3. Neck side-bending: Gently tilt one ear toward right shoulder, hold for 5 sec. Repeat 3-5 times. Repeat on left side.
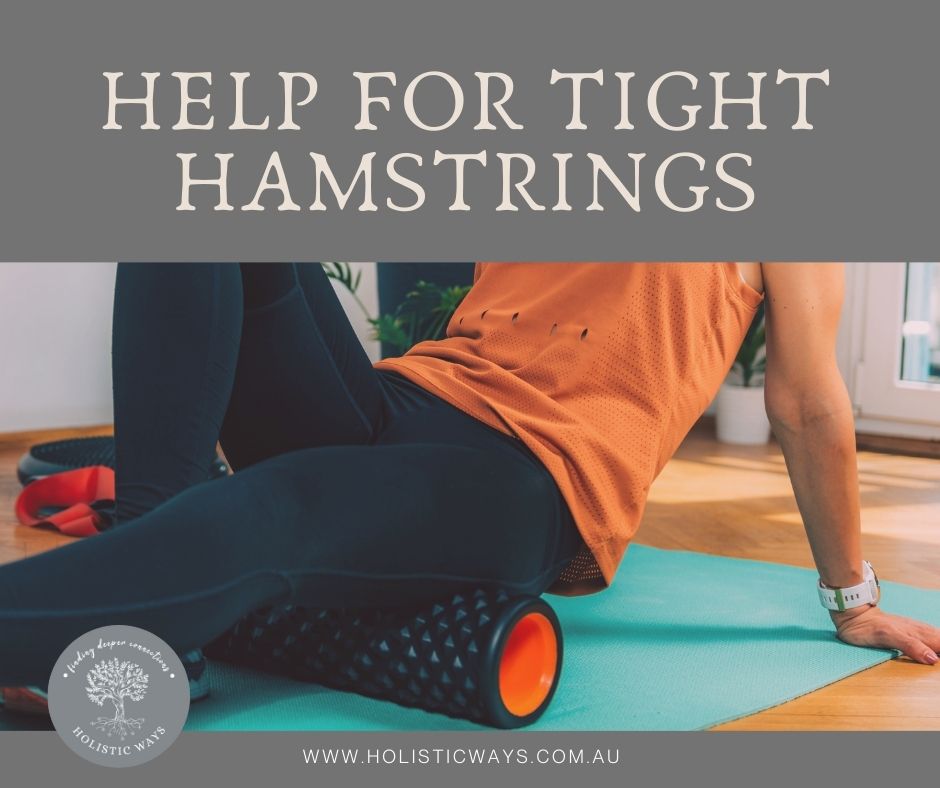
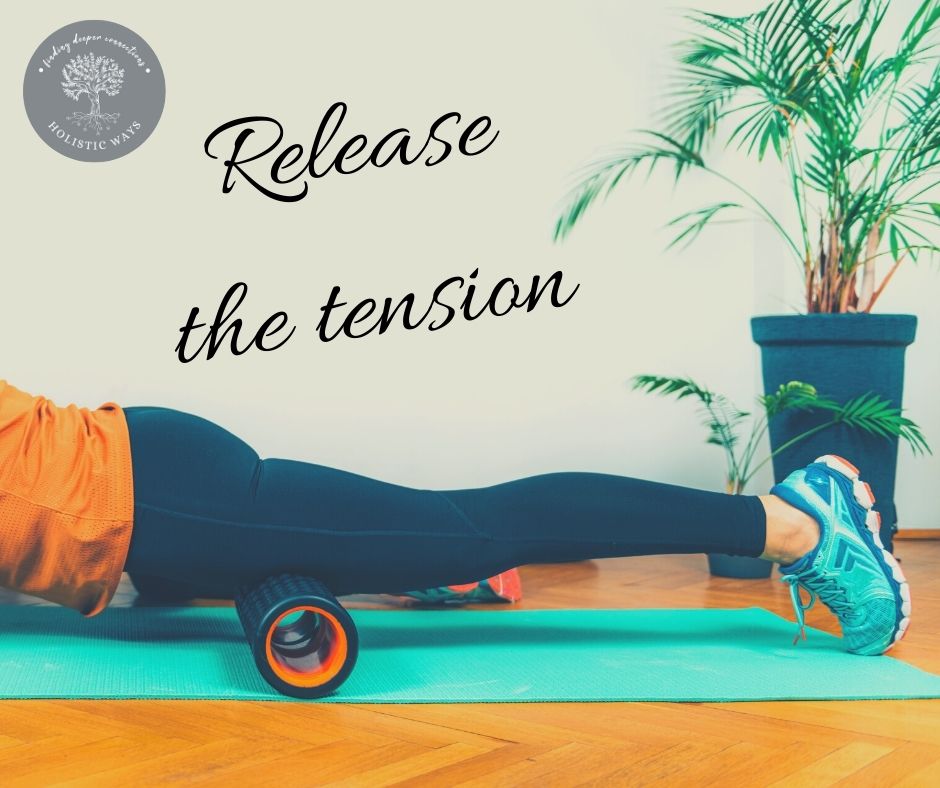
Picture

Help your hammies!

If your hamstrings are tight, it can easily cause discomfort & pain in many surrounding areas, from your back down to your feet! 
This routine with a roller allows the hamstring muscles to be kneaded & pressed into the roller, helping to release small knots & tight areas. (If you haven't got a roller you can use a tennis ball instead)
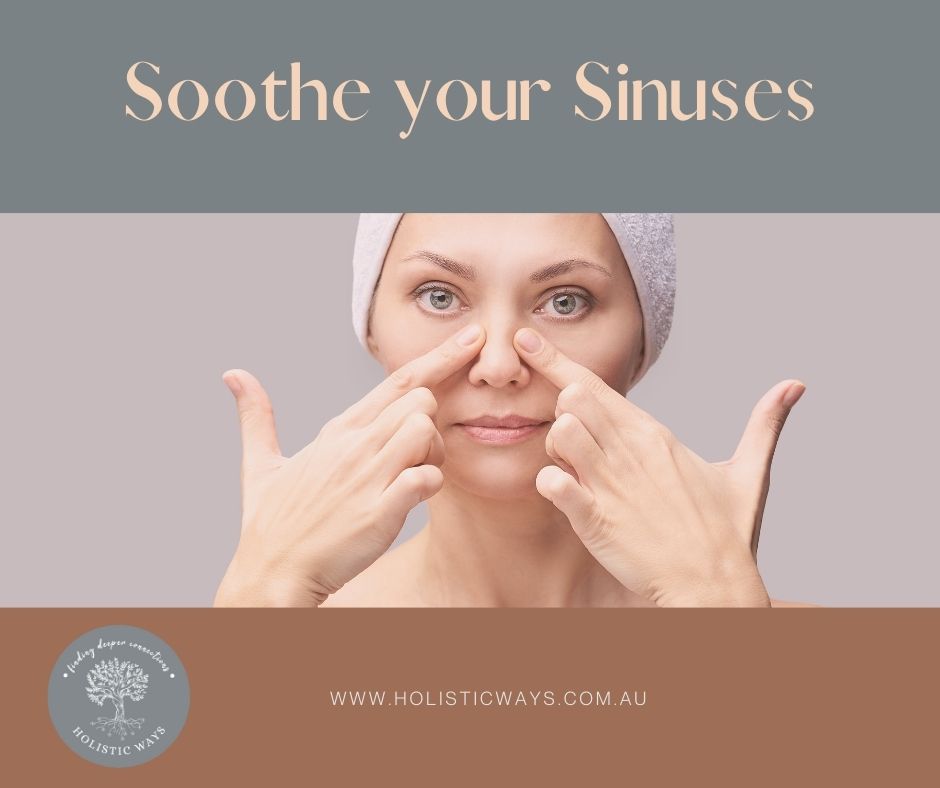
  1. Begin seated with hands behind you, hips off the floor & foam roller under L hamstring.
  2. Keep L leg relaxed & long with R knee bent over the roller & R foot on ground.
  3. Begin to press into R foot on ground, slowly moving the body back as the foam roller rolls up the L hamstring.  
  4. Keep L leg relaxed as you roll.
  5. Glide up & down the muscle for 30-60 seconds concentrating on any tighter areas.
  6. Switch sides.

Picture

Sinus Relief...yes please!

This routine may assist to relieve sinus pressure, congestion, frontal sinus headaches & tired eyes:
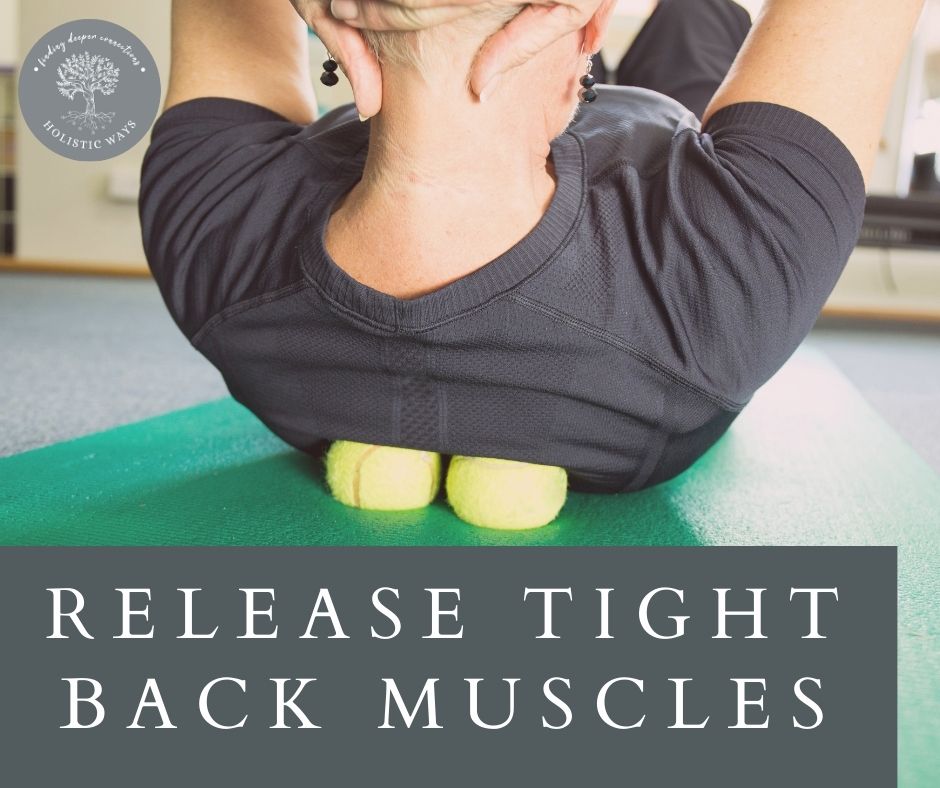
  1. Rub hands together to warm them. Warm hands are more comforting & help the face muscles relax. (Tip: you may like to use some oil to assist airways opening & reduce friction. Ask me about my Sinus Relief blend)
  2. Locate where the bridge of nose meets the ridge of eyebrows. Using your thumbs or a finger apply pressure to this area for about 1 min. Pressure applied can be somewhere between pleasant & firm.
  3. Now apply pressure to your cheeks. Move your thumbs (or fingers) so they are placed either side of your cheek, just outside each nostril. When pressure is applied to this area, it can help to relieve nasal congestion & sinus pain. Do this for about 1 min.
  4. Stop the massage if you feel any pain. If there is a buildup of pressure in your sinuses, this basic massage may feel a little intense - this is normal. However, if you feel any deep pain, stop & try an alternative remedy or consult your health professional.

Picture

Loosen up your back...

This routine can relieve tension in back muscles along the sides of the spine. 

You will need: 2 tennis balls, yoga mat, sock & rubber band.
  1. Lie on back on a padded surface (e.g. yoga mat) with feet flat on floor
  2. Place tennis balls are on either side of spine (not on the spine)
  3. Relax & breathe
  4. Slowly inch tennis balls up or down the spine
  5. Hold, relax & breath at painful spots
Tennis balls tricky to manoeuvre?
Additional tip: Place 2 tennis balls in sock & close open end with rubber band.
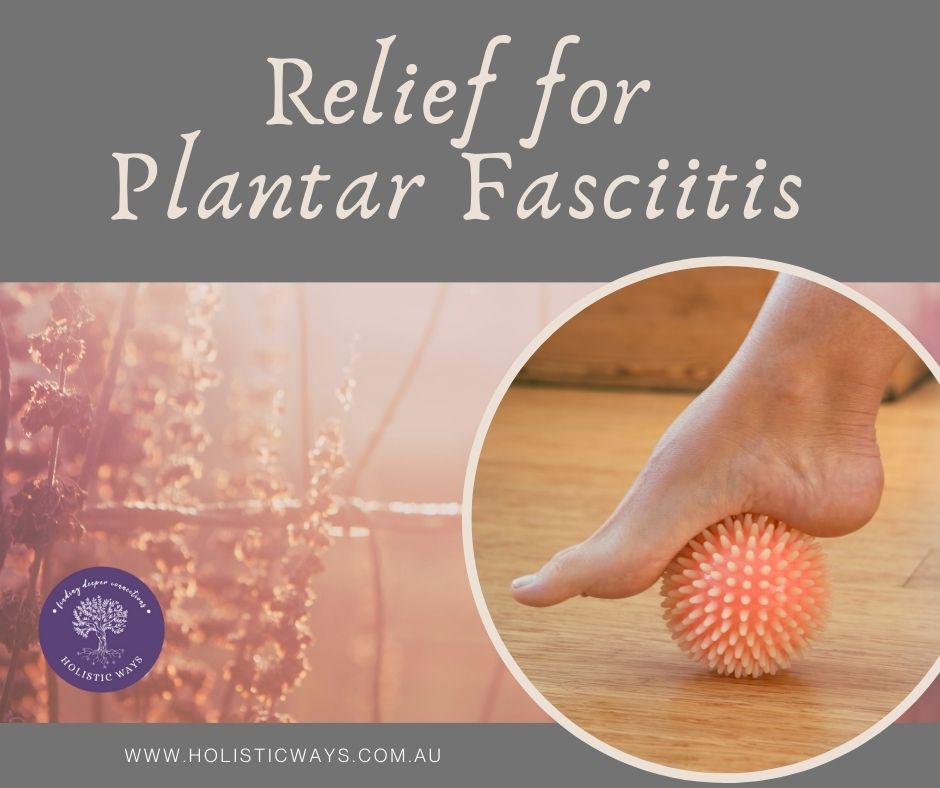
Picture

Ouch! Help for foot pain

This routine can assist ease foot pain e.g. from plantar fasciitis
  1. Place ball (e.g tennis or golf ball) under foot
  2. Roll ball around til you find sensitive spot/pressure point
  3. Press down with foot just enough to feel the point soften
  4. Gradually apply more pressure once it’s tolerable
  5. Do this self-massage twice a day for 1 to 3 minutes at a time

Help for tired, tight thighs
Sometimes our quad muscles get tight from overuse (eg lots of cycling or working out) or underuse (eg lots of sitting). 
One way to ease muscular tension & increase joint mobility is self-massage.
Here are two examples of self-massage for the quads:
Picture
Method 1: Quads self-massage with foam roller 
1. Start by lying on your front. Place foam roller at the bottom of your thigh (above the knee). Rest your body weight comfortably through the forearms/shoulders and place opposite bent leg to side (see image above)
2. Using your arms & opposite leg for support, slowly move your body weight forward as the roller runs up the thigh. Aim for a slow, controlled movement 
3. If you feel any tight spots in the quads, hold your position on this point for about 5-10 secs until the tightness reduces – then continue to roll up the thigh
4. Remember to breathe during the rolling 
5. Repeat 2-3 times as necessary
* foam roller available from Target or Kmart for approx $10

Picture
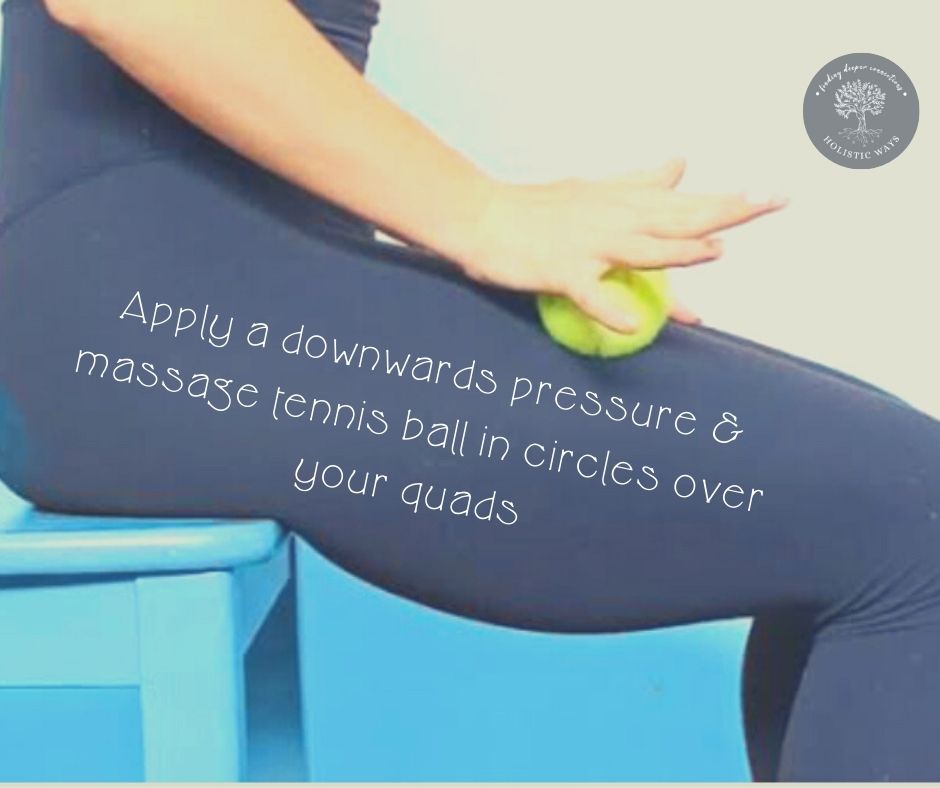
Method 2: Quads self-massage with tennis ball
1. Apply a downwards pressure & massage tennis ball in circles over your quads (see image below)
2. When you find a tight spot, hold the ball & increase the pressure. The sensation should be satisfying (or a ‘good pain’), but not intensely sore
3. Hold for 5-10sec until tension reduces. Breathe comfortably 
4. If it doesn’t feel right, stop. This is a useful rule of thumb with any type of self-massage or exercise

Picture
Self-massage of our tummies - abdominal massage - can help improve digestion, relieve bloating & constipation, help the stomach muscles to relax and relieve symptoms of tightness, pressure & cramping. Routine:
  1. Start on the right side of your tummy down by your hip/pelvis bone
  2. Rub in a circular motion - with your fingertips - lightly up the right hand side until you reach your ribcage
  3. Move straight across - below the rib cage - to the left hand side. 
  4. Next, massage your way down the left side to the left hip bone 
  5. Next, massage gently straight across towards the belly button & then on to the right hip bone
  6. Repeat, always in a clockwise motion for approx. 5-minutes - or whatever feels comfortable for you
Picture
Holistic Ways
[email protected]
 0447 014 749     ​​
PO Box 365, Toodyay. WA 6566
Picture
Picture
Picture
Proudly powered by Weebly
  • Home
  • Life Coaching
  • Courses
  • Massage
  • Move & Stretch
  • Workplace Wellness
  • About Me
  • Contact Me
  • Self-Massage Tips
  • Essential Oil Tips